Your profile
Scenes
Add extra screens below your card, like About me, Projects, a Gallery, your games, anime, movies or upcoming events, that visitors scroll to one at a time.
Scenes are extra screens below your card. Visitors scroll down to them, and the page snaps to one screen at a time. With no scenes, your page stays a single screen.
Scenes are free for everyone. A page can have up to 25.
Add a scene#
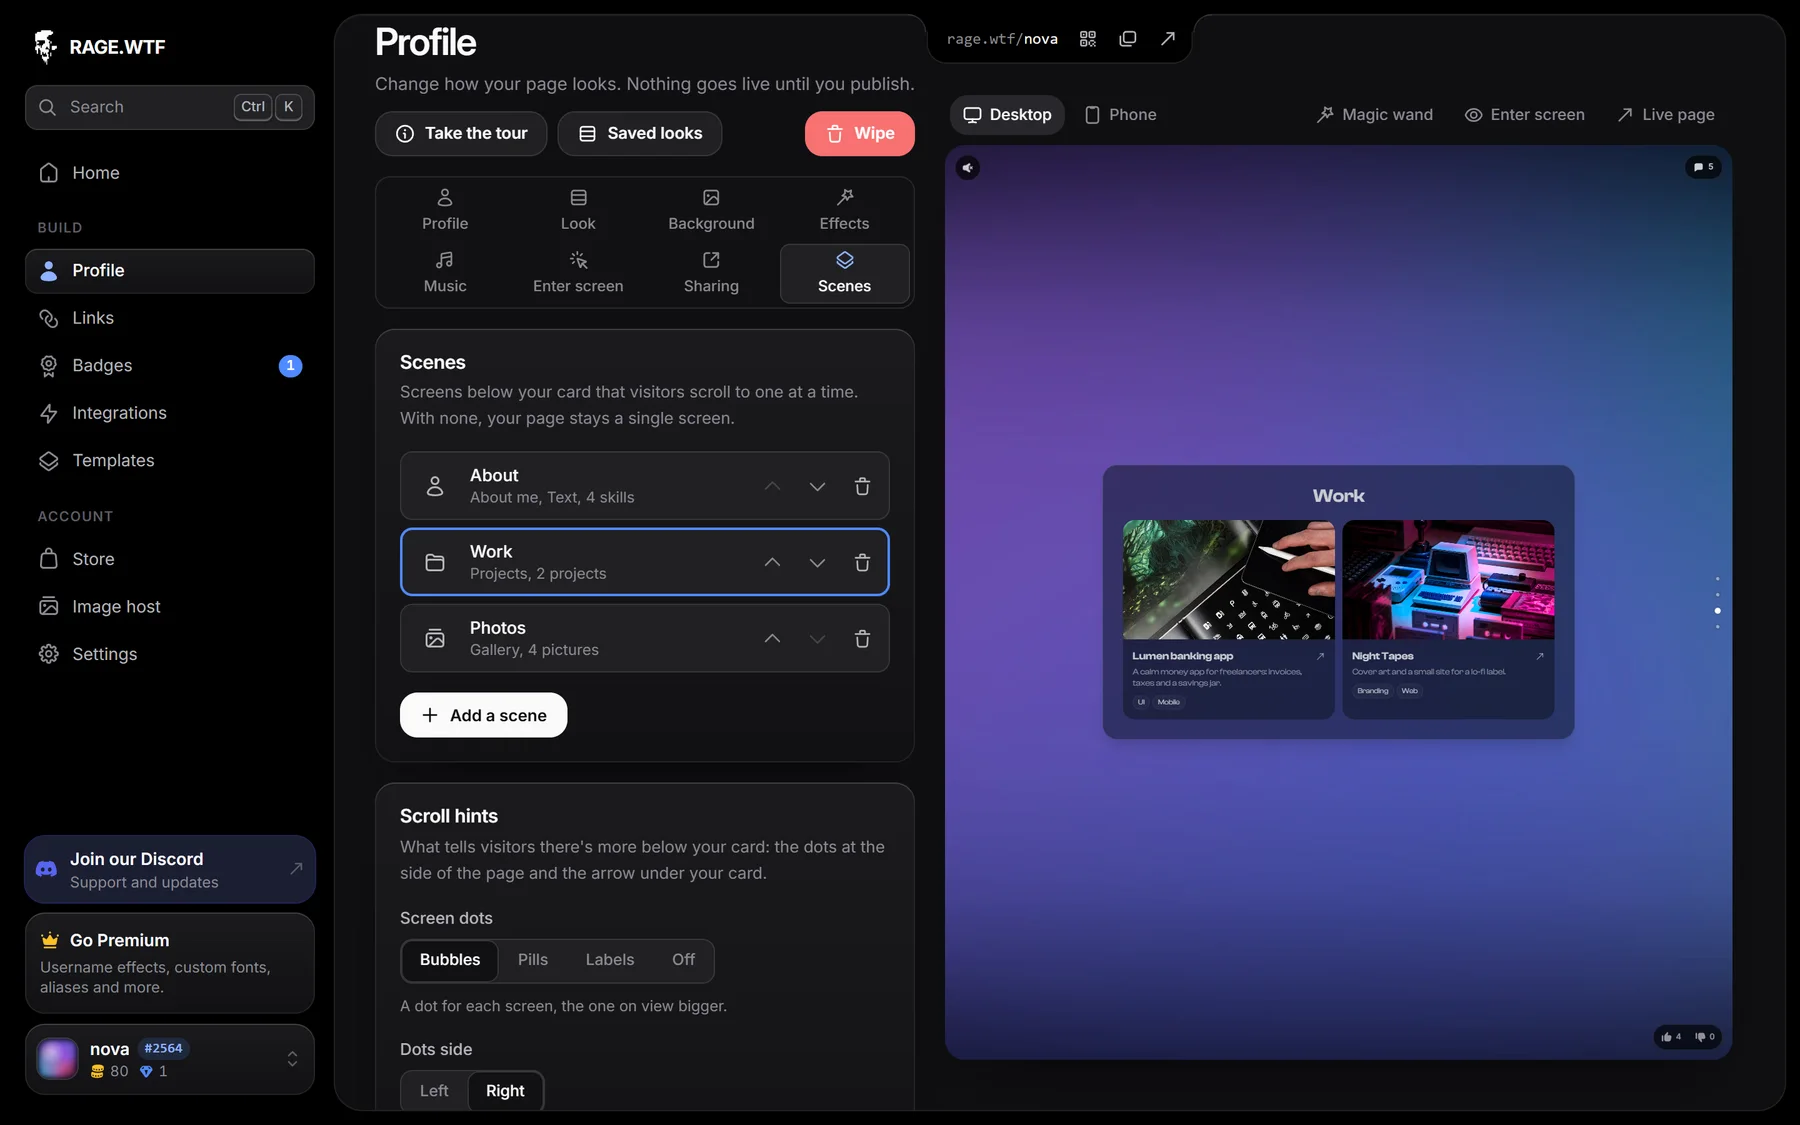
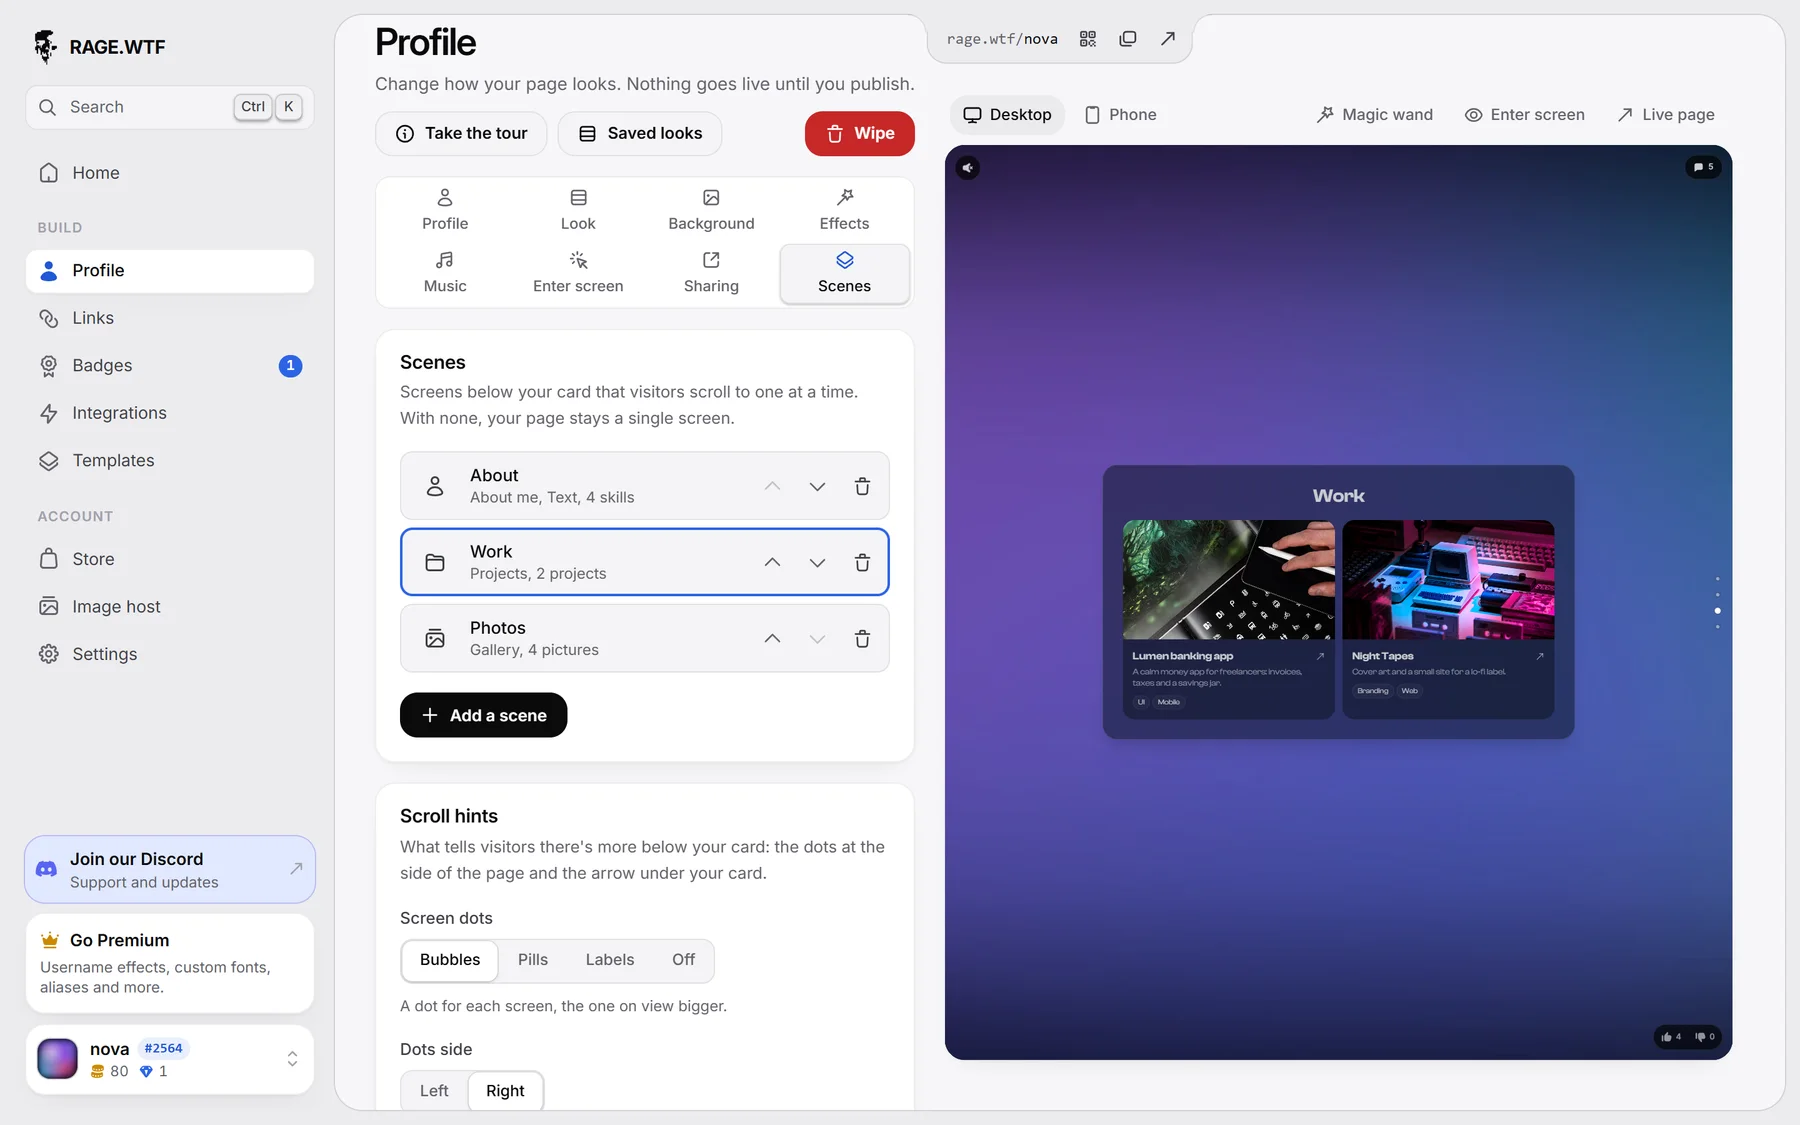
- In the dashboard, open Profile, then Scenes.
- Click Add a scene (the first time, the list of types is already open under Add your first scene).
- Pick a type. The new scene opens so you can fill it in, and the preview scrolls to it.
- Optionally give it a Title (up to 48 characters). It shows at the top of the scene. Leave it empty for none.
- Choose how it looks under How it looks (see how a scene looks).
- Click Done, then press Publish.
Scene types#
| Type | What it shows |
|---|---|
| About me | A few words, your skills and integrations. |
| Projects | Cards for your sites, designs or art. |
| Custom text | Anything you want to say, on its own screen. |
| Gallery | Your pictures, which open full size. |
| Audio player | A big player for your songs, with lyrics if you like. |
| Music | Your Spotify, SoundCloud, YouTube, Last.fm or stats.fm integrations. |
| Games | Your Steam, Riot games, FACEIT, osu!, Overwatch, Genshin Impact, Supercell games, Chess.com, Minecraft and game server integrations. |
| Streams | Your Twitch, Kick and YouTube integrations, with your live stream playing on its own. |
| Anime | Your MyAnimeList stats, favourite anime and what you’re watching. |
| Movies & series | Movies and series you pick, and your Letterboxd diary. |
| Calendar | Dates you want people to know, like streams, events and launches, and your Calendar integrations. |
About me#
- About you: up to 2,000 characters, written in the text editor.
- Skills: up to 20 short tags (32 characters each), like “Photoshop”. Duplicates are ignored.
- Integrations: pick up to 12 of your integrations.
Projects#
Click Add a project for each card, up to 12 per scene. Each project has:
- A picture (Add picture), shown at 16:9.
- Title, up to 60 characters.
- Description, up to 200 characters.
- Link (optional). A plain address like
yoursite.comworks. If it doesn’t look like a web address, the editor tells you and the card won’t link anywhere. - Tags, up to 4 (24 characters each).
Use the arrows to reorder projects. On your page, linked cards open in a new tab. For sites outside RAGE.WTF, visitors are asked to confirm before they leave. A project with nothing filled in is not shown.
Custom text#
Write up to 5,000 characters in the text editor. Use its toolbar for headings, colours, links, lists and alignment.
Text scenes you wrote before the text editor existed were converted automatically.
Gallery#
- Click Upload pictures. You can pick several at once.
- Add an optional caption to each picture (up to 120 characters).
- Reorder or remove pictures with the buttons on each row.
A gallery holds up to 24 pictures. A click opens a picture full size with its caption. Visitors move between pictures with the side buttons or the arrow keys, and close with Escape or the close button.
Audio player#
This scene shows a big player for the songs from your Music settings and uses the same Invert play button and Invert seek bar choices. With more than one song, it has previous and next buttons and a song list. Without a song, visitors don’t see the scene. Click Add a song to jump to the Music section.
With the Player and lyrics layout, the scene also shows the lyrics of the song that is playing:
- Synced lyrics highlight the line being sung and scroll with the song. The line fills in word by word, and each word lifts a little as it is sung. Visitors can click a line to jump to it.
- Plain lyrics just show.
With this layout, How it looks also has a Glowing lyrics switch. When it is on (the default), the words being sung glow as they fill in.
You add lyrics to each song in the Music section. See lyrics.
Music and Games#
Pick up to 12 integrations. Music only lists Spotify, SoundCloud, YouTube, Last.fm and stats.fm. Games lists Steam, Roblox, League of Legends, VALORANT, FACEIT, osu!, Overwatch, Genshin Impact, Clash of Clans, Clash Royale, Brawl Stars, Chess.com, Minecraft, and FiveM, Minecraft and CS servers.
Streams#
Pick up to 12 Twitch, Kick or YouTube integrations. With the Live player layout, a player sits on top of the scene:
- When one of your channels is live, it plays on its own, muted, with a LIVE tag, how many are watching, the stream title and the game under it. Visitors turn the sound on in the player. If several are live, the first one in your list plays.
- When nobody is live, your first YouTube video takes its place, and waits for a click.
- Your other integrations are listed under the player.
Live status updates every few minutes, so a stream you just started can take a moment to appear.
Anime#
Pick your MyAnimeList integrations. The scene shows:
- Your MyAnimeList name and picture, with your stats in large numbers: completed, episodes, days watched and mean score.
- What you’re watching, as cards with a progress bar (“Episode 5 of 14”) and your score as stars. This needs your anime list to be public.
- Your favourite anime as a wall of posters with the titles on them.
With the Rows layout everything is a compact list; with Carousel what you watch and your favourites scroll sideways.
Movies & series#
Add up to 24 titles:
- Under Add a movie or series, search for a title and pick it from the results. Its title and poster are filled in for you.
- Can’t find it? Click Add one by hand and fill in the Title, Year, the Series tick box, a poster (Add poster) and an optional Link.
- Optionally add a Note to each title, up to 120 characters, like why you like it or your rating.
- Use the arrows to reorder titles, or remove one with its delete button.
With the Posters layout your first title is your Top pick, shown big with its poster and your note, and the rest follow as a wall of posters. Put your favourite first.
You can also pick your Letterboxd integrations. They show the films you watched recently like a diary: the poster, your star rating (half stars too), a heart when you liked it and the day you watched it.
Calendar#
Dates you want people to know: streams, events, launches.
The editor shows a month calendar. Days with events have a dot, and repeating events show on every day they happen.
- Click a day, then Add an event. You can have up to 50 per scene.
- Fill in the Title (up to 80 characters). The Day is the one you picked; click it to pick another.
- Pick when it Starts and, optionally, when it Ends, from the hour and minute grid. For an event that lasts the whole day, turn on All day instead.
- Pick how often it Repeats: Once, Weekly, Monthly or Yearly.
- Optionally add a Note (up to 160 characters, like where it is or what to expect) and a Link, like
twitch.tv/you. - Click Done. Click an event’s row again to change it, or Remove it.
Only one event is open at a time, so the editor stays short however many you add. A repeating event opens from any of its days, and changes apply every time it happens.
Times are in your time zone at the moment you add the event. Visitors see them in their own time zone.
Under Calendar integrations you can also pick your Calendar integrations. Their events show together with the ones you added by hand.
Past events hide on their own, so you don’t need to clean up.
How a scene looks#
A new scene copies the style of the scenes you already have, so your page stays consistent: the title position and size, whether titles show, the surface and the width most of your scenes use, and the layout of a scene of the same type, or the kind of layout you favour (lists, grids, carousels or big features). Change any of it afterwards.
Rows that scroll sideways (carousels) scroll with a swipe or trackpad, and on a computer also by dragging them with the mouse or turning the mouse wheel over them.
Every scene has a How it looks group under its settings.
Layout#
| Type | Layouts |
|---|---|
| About me | Stacked, or Side by side (text and skills on the left, integrations on the right). |
| Projects | Cards, Rows, Showcase (one big project per row), Pictures only (the title shows over the picture on hover, and always on touch screens), Carousel (scrolls sideways, with previous and next buttons). |
| Gallery | Grid, Masonry (each picture at its own shape), Carousel, Spotlight (one big picture with thumbnails to switch), Polaroids (pictures in tilted white frames with captions). |
| Music and Games | Grid, Rows, Compact (three columns on wide screens). |
| Streams | Live player (the player on top, see Streams), Grid, Rows. |
| Audio player | Player, or Player and lyrics. |
| Anime and Movies & series | Posters, Rows, Carousel. |
| Calendar | Agenda (a list grouped by day, with month headings), Month (a month grid with a dot on days that have events; click a day to see its events, and use the arrows to move between months), Next up (the next event big with a “Starts in” countdown, or “Happening now” while it’s on, then “After that” with the next three). |
Custom text has no layout choice.
Title#
- Show the title: turn it off to keep the title only in the editor.
- Title position: Left, Centre or Right.
- Title size: 50 to 250 %.
Surface and width#
| Setting | Options |
|---|---|
| Surface | Card (like your main card), Glass (a see-through card that blurs the background), None (straight on the background). |
| Width | Like my card (as wide as your main card, so the scene looks the same size), Narrow, Normal, Wide, Full. Your first scene starts as Like my card; Projects and Gallery start Wide when your card uses the narrower Default layout. |
| Tilt on hover | Like my card (tilts when your card does), On or Off. |
| Sweep | Like my card, On or Off: a light along the scene’s edge, in your card’s sweep colour, speed and length. Needs a Card or Glass surface. |
| Card effect | Like my card (the effect your card has), None, Flame Wrap or one of the intros, in your card’s effect colour. Decrypt Intro and Particle Intro play once, the first time a visitor scrolls to the scene. Flame Wrap needs a Card or Glass surface. |
Move and resize with the magic wand#
With the magic wand on, pick a scene’s title or its content in the preview, then resize it or move it inside the scene. Like on your card, it follows the Desktop and Phone switch, and Undo takes back your steps.
Scroll hints#
When your page has scenes, the Scenes section has a Scroll hints group. It sets what tells visitors there’s more below your card.
| Setting | Options |
|---|---|
| Screen dots | Bubbles (a dot for each screen, the one on view bigger; the default), Pills (the dot of the screen on view stretches into a pill), Labels (dots with your scene titles next to them; the other titles show when hovered), Off. |
| Dots side | Left or Right (the default). Hidden when the dots are off. |
| Arrow under your card | Circle (a round button with an arrow; the default), Arrow (just the arrow), Label (a button naming your first scene), Off. |
The dots show on computers only. The arrow stays still under your card.
Style your text#
About me and Custom text use a text editor with a toolbar:
| Tool | What it does |
|---|---|
| Text style | Normal, or Heading 1 to Heading 3. |
| Size | Makes the text bigger or smaller. |
| Bold, italic, underline, strikethrough | Styles the selected text. |
| Text colour | Colours the selected text. |
| Link | Turns the selected text into a link. |
| Align | Left, centre or right. |
| Bulleted list, numbered list | Starts a list. |
| Quote | Sets a paragraph apart as a quote. |
| Divider | Adds a line between parts. |
| Clear formatting | Takes the styling off the selected text. |
On your page, links to sites outside RAGE.WTF ask visitors to confirm before they leave.
Integrations in scenes#
- An integration you pick in a scene moves off your main card and shows only in that scene.
- Each integration can be in one scene at a time. Picking it in another scene moves it there.
- When you delete a scene, its integrations go back to your card.
- If you have no matching integrations yet, add them on the Integrations page first. See integrations.
Free accounts show up to 5 integrations in total, on the card and in scenes together.
Reorder or delete scenes#
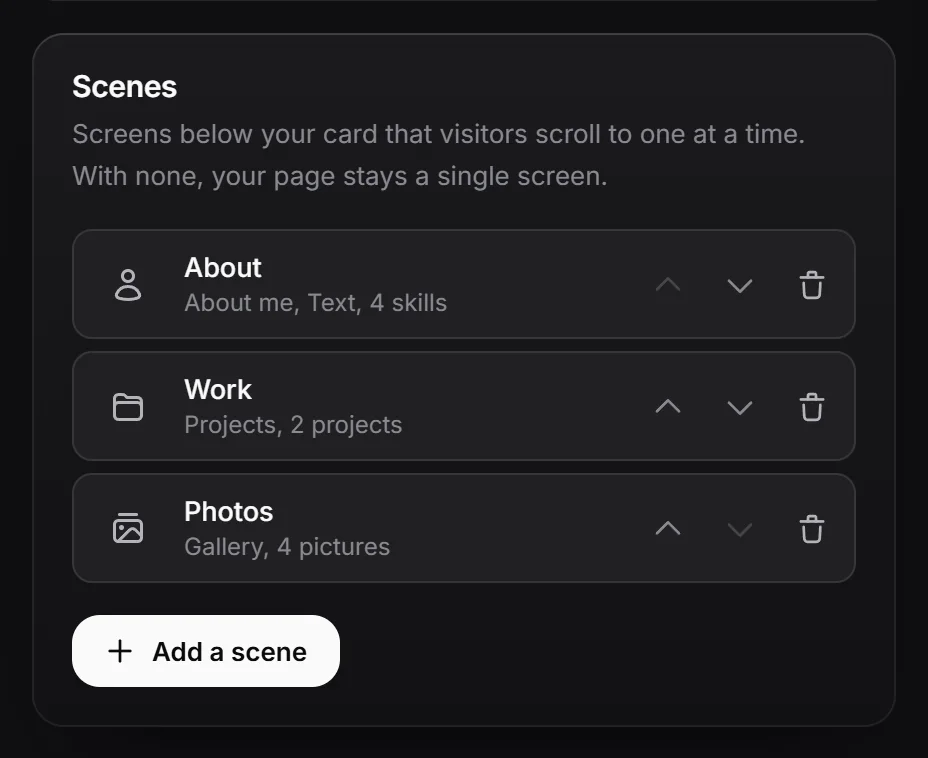
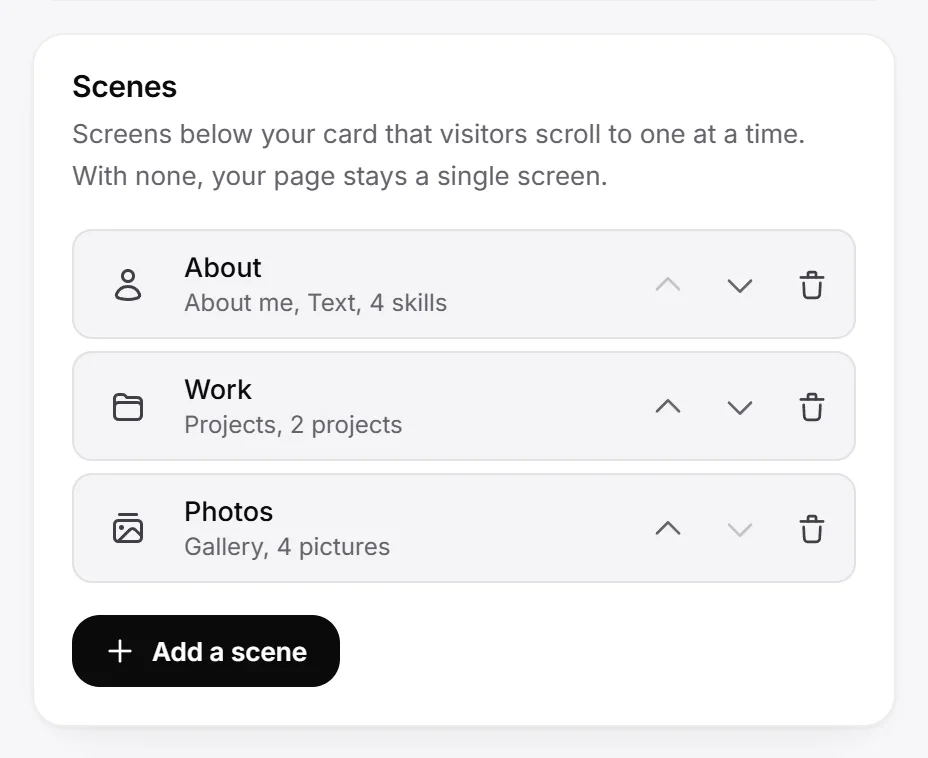
- Use the up and down arrows on a scene to change its place.
- Click the delete button and confirm to remove a scene.
- Click a scene’s name to edit it again.
Picture limits#
Pictures for projects, galleries and posters can be PNG, JPG, GIF or WebP.
| Free | Premium | |
|---|---|---|
| Picture size | Up to 3 MB each | Up to 10 MB each |
Uploads are also limited to 15 files every 10 minutes. If you add a big gallery, add the pictures in a few smaller batches. See upload limits.
What visitors see#
- Each scene uses your card’s font and the surface you picked, over your page background.
- An arrow under your card jumps to the next scene.
- On computers, a column of dots at the side of the page shows one dot per screen. Click a dot to jump there. Phones don’t show the dots; visitors swipe.
- You choose how the dots and the arrow look, or turn them off, under scroll hints.
- Empty scenes (no text, no pictures, no projects, no events, nothing picked) are hidden from visitors. In your preview they show a hint instead, and the scene list says “visitors won’t see it”.